Free Online Photo Editing Tutorials

Five Photo Editing Tutorials for Better Everyday Images

A dull photo, a small image, an awkward export format, a vintage black-and-white scan, or a faded family picture can all need different care. These free online photo editing tutorials turn each of those jobs into a clear workflow you can read, follow, and review before opening a tool.

Choose a goal instead of guessing which control to use. Every guide covers preparation, numbered steps, result checks, common mistakes, and a clearly labelled link to the relevant ZEnhancer tool when you are ready to apply the workflow.

Five Free Photo Editing Tutorials by Goal

Start with the featured lesson or choose one of four focused guides. Each card opens a standalone tutorial with preparation notes, numbered steps, result checks, and mistakes to avoid. The relevant tool is linked inside the lesson only after the workflow is clear.

What These Photo Editing Tutorials Help You Do

01

Solve one visible problem

Focused photo tutorials identify blur, noise, glare, clutter, fading, or format friction before editing.

02

Follow a repeatable workflow

Every lesson moves from image check to tool choice, processing, review, and download.

03

Read a complete guide first

Every card opens its own tutorial page, so the tool is a contextual next step rather than the whole lesson.

Build Skills with Photo Tutorials in a Sensible Order

Start with the image's biggest limitation, not the most dramatic effect. Use these free photo editing tutorials as a sequence when one file needs several changes, saving a copy after every major step.

  1. 1. Inspect and preserve the source

    Keep the original, view it at normal and full size, and identify the main issue. Enhance a general photo before upscaling; restore a scan before colorizing. Diagnosis prevents repeated processing. Name the intended use and decide which details must remain completely recognizable.

  2. 2. Repair before you decorate

    Address general clarity, low contrast, or fading before choosing a delivery format. Follow the relevant tutorial step by step, compare important areas, and reject distracting artifacts. If a correction changes identity, lettering, or product shape, return to the previous copy.

  3. 3. Review at the intended size

    Check the image at its destination size, then inspect full size for halos, smearing, or unreadable text. Photo Editing Tutorials work best when review is part of editing. Also compare bright areas, shadows, and boundaries where processing mistakes are easiest to notice.

  4. 4. Convert only at the end

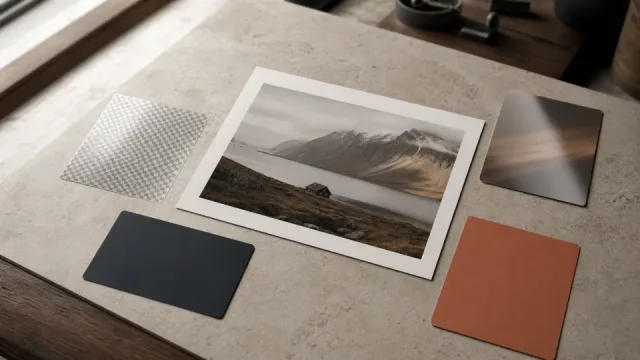
    Choose PNG, JPG, JPEG, or WebP after visual work. Preserve a master and create delivery copies. Conversion changes compatibility and compression, not missing detail. Record the chosen format and keep the master separate from smaller delivery versions.

Pick the photo tutorials that match the current problem, keep comparisons, and stop when the image communicates clearly. Restraint is usually more believable than stacking every operation.

Photo Editing Tutorials FAQ

Are these free online photo editing tutorials suitable for beginners?

Yes. Each card opens a standalone tutorial with preparation notes, numbered steps, result checks, common mistakes, related reading, and one clearly labelled tool CTA. Beginners can follow one lesson, while experienced users can reuse the checklist.

How are these photo tutorials organized?

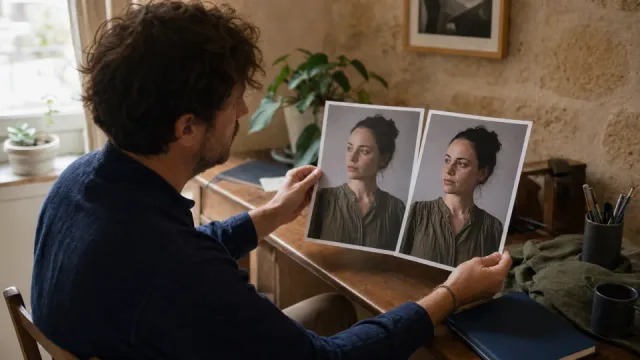
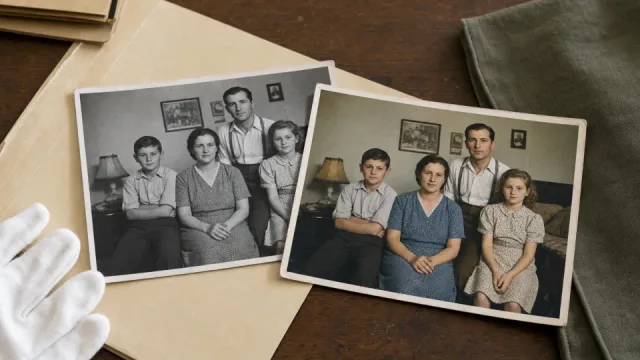
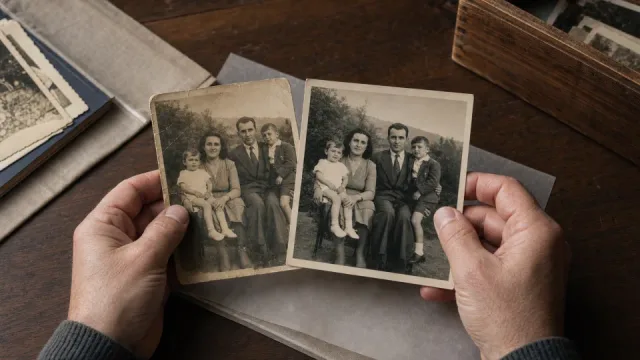
The five lessons cover AI photo enhancement, image upscaling, image-format selection and conversion, vintage-photo colorization, and faded family-photo restoration. Start with the visible problem or destination requirement. Category labels support scanning, but the promised outcome should guide your final choice.

Does every tutorial have its own page?

Yes. This hub links to independent tutorial URLs under /tutorials. The existing tool URLs stay unchanged and appear only as contextual, dofollow links inside the relevant tutorial.

Can Photo Editing Tutorials guarantee that every damaged image becomes perfect?

No. Results depend on resolution, compression, damage, lighting, and remaining information. Enhancement cannot verify invented detail. Keep the original and treat uncertain text or historical color as interpretation.

Which lesson should I use when a photo has several problems?

Begin with the issue blocking understanding: improve a generally dull image, upscale only when the destination needs more pixels, restore a faded scan before colorizing it, and convert only after visual work is complete. Review each stage so you can identify which change introduced an artifact.

Will converting an image improve its visual quality?

Usually not. Conversion changes compatibility, transparency, and compression, but cannot recover lost detail. Repair the image first, keep the best master, then make a PNG, JPG, JPEG, or WebP delivery copy.