
Why AI Photo Restoration Changes Faces
Learn why AI photo restoration changes faces, how to separate source evidence from plausible reconstruction, and how to check identity fidelity.
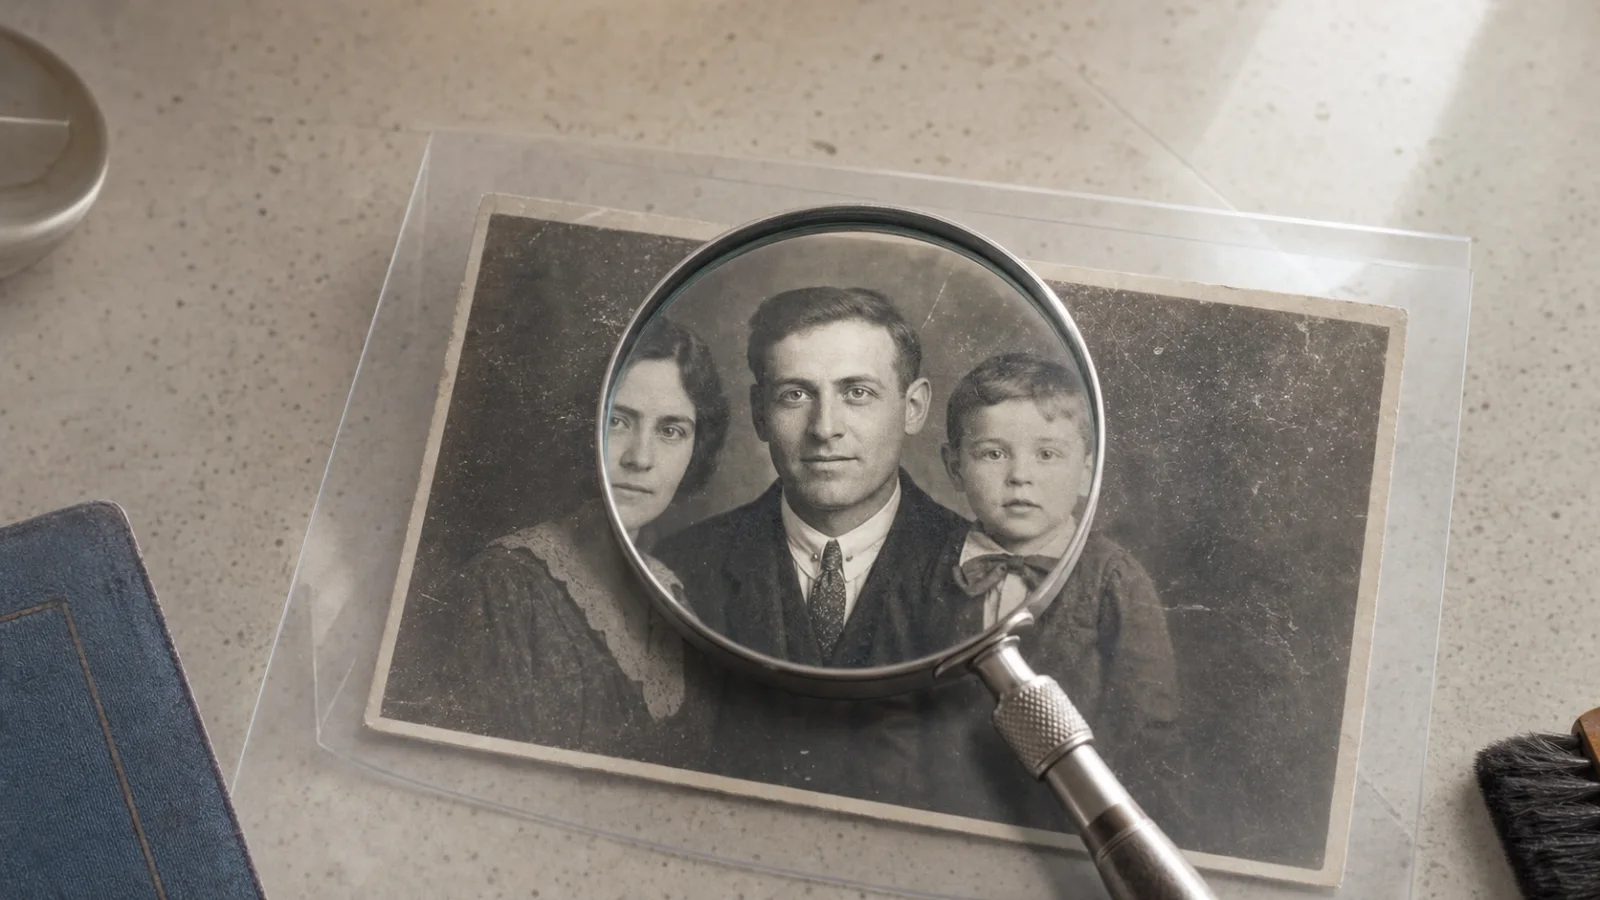
AI photo restoration changes faces when the source no longer contains enough visual evidence to constrain the reconstruction. It can still make a damaged portrait dramatically easier to see: scratches disappear, contrast returns, and a face that once looked soft may suddenly have defined eyes, hair, and skin. But a clearer face is not automatically a more faithful one. Sometimes the restored person looks younger, has a different expression, or simply no longer feels like the relative you recognize.
That change is not necessarily a software malfunction. Restoration models must estimate what belongs in pixels that are blurred, faded, compressed, scratched, or missing. When the source contains strong visual evidence, the estimate can stay close to the photograph. When evidence is weak, the model may produce a face that is statistically plausible but historically uncertain.
For the complete source-to-export workflow, start with our guide to restoring old photos with AI, then use this article as the deeper identity-fidelity check for portraits.
The goal is not “maximum detail.” It is the clearest result that preserves identifying structure, expression, and era without hiding uncertainty.
Why a restored face can become a different face
A digital image records appearance, not a complete description of the person. If an eye is only four blurry pixels wide, the file does not secretly contain a sharp iris waiting to be extracted. A restoration system can analyze surrounding shapes and patterns learned from other images, but it cannot observe detail that the camera, scan, or damaged print no longer provides.
Several problems make identity drift more likely:
- Low resolution: Small faces contain too few pixels to establish eyelid shape, lip contours, wrinkles, or subtle asymmetry.
- Defocus or motion blur: Neighboring features spread into one another, weakening the boundaries the model needs to follow.
- Scratches and missing emulsion: A crease through an eye or mouth removes evidence instead of merely obscuring it.
- Fading and uneven exposure: One side of a face may lose the shadows that define its shape.
- Compression and repeated saving: Blocking and ringing can be mistaken for eyelashes, teeth, or skin texture.
- Strong model priors: The system has learned what a likely face looks like and may favor a familiar-looking eye, nose, or skin texture when the source is ambiguous.
- Aggressive settings: A strong face-enhancement pass can replace subtle evidence with a polished interpretation.
Research on blind face restoration describes this basic tension between visual quality and fidelity. Models use learned facial knowledge to generate realistic results, but stronger generative priors can also introduce details that are not supported by the degraded input. Identity-preserving restoration remains an active research problem, including work that explicitly evaluates identity drift rather than judging only whether an output looks sharp or photorealistic. See this survey of deep face restoration methods and recent research on identity-preserving face restoration.
Source evidence and plausible reconstruction are not the same
The most useful way to assess a restoration is to separate what the photograph supports from what the model supplies.
| Type of detail | Meaning | Examples |
|---|---|---|
| Strong source evidence | Clearly visible in the original, even if faded or noisy | Face outline, parting of the hair, glasses, a distinctive smile |
| Partial source evidence | Shape is present, but fine detail is uncertain | Eyelid angle, tooth boundaries, eyebrow density |
| Plausible reconstruction | Fits surrounding context but cannot be verified from the source | Iris texture, individual eyelashes, pores, fine wrinkles |
| Unsupported invention | Conflicts with visible evidence or adds an unverified feature | Different eye shape, removed scar, new teeth, changed expression |
Restoration is most trustworthy when it strengthens strong evidence and treats partial evidence conservatively. Plausible reconstruction is not always undesirable: filling a tiny scratch with nearby skin tone may be exactly what makes a family photo enjoyable again. The problem begins when an interpretation is presented as recovered fact.
This distinction matters especially for genealogy, archives, memorial images, identification, and historical research. Keep the original, label heavily reconstructed versions, and never use an enhanced face as the only evidence for a factual claim.
The facial features that matter most for identity
People recognize one another through a combination of features, not by counting sharp pixels. When comparing an original and a restoration, begin with stable structure before inspecting fine texture.
Overall face shape
Compare the width and length of the face, the jaw angle, chin shape, cheek fullness, and forehead proportions. A restoration that narrows the jaw or rounds the cheeks can change the person even if both versions look natural.
Feature spacing
Look at the distance between the eyes, the space from eyebrows to eyelids, nose length, and the position of the mouth relative to the nose and chin. Small changes in these relationships often create a stronger identity shift than missing skin texture.
Eyes and eyebrows
Check eye opening, outer-corner angle, eyelid fold, eyebrow arch, and any left-right asymmetry. Models often make eyes larger, more symmetrical, or more evenly lit because those results look conventionally clear. Symmetry is not the same as fidelity.
Nose, mouth, and expression
Compare nostril width, bridge direction, lip thickness, corners of the mouth, visible teeth, and the depth of smile lines. Teeth are particularly easy to over-interpret when a bright, compressed region is divided into crisp individual shapes.
Distinctive details
Glasses, moles, scars, gaps between teeth, facial hair, hairstyle, and age lines may carry more identity information than generic “high definition” skin. If restoration removes them, the result may be cleaner but less truthful.
A fidelity checklist before you restore
Good evaluation starts before processing. Use this checklist to protect both the source and your ability to compare:
- Find the best available original. A high-resolution scan of the print is better than a screenshot of a social-media upload. If possible, scan again before asking software to reconstruct missing information.
- Keep an untouched master. Work on a duplicate. Do not repeatedly save over the only copy or use the restored result as the input for every new experiment.
- Record known identity clues. Note glasses, scars, asymmetry, hairstyle, approximate age, and the expression family members recognize.
- Inspect the source at 100% zoom. Mark which features are visible, partially visible, or absent. This prevents generated details from later feeling as though they were always present.
- Decide the purpose. A small display print may need less intervention than a large memorial portrait. An archival reference should favor restraint over cosmetic perfection.
- Choose one problem at a time. Fading, scratches, blur, noise, and color loss are different problems. Stacking strong corrections makes it difficult to identify where a face changed.
If the face is only a tiny cluster of pixels or a large area is completely missing, set expectations before you begin: the output will contain more interpretation than recovery.
A fidelity checklist after each result
Run one conservative restoration, then compare it directly with the untouched file. Do not compare from memory.
- View both images at the same size and alignment.
- Blink between them or place them side by side.
- Compare face outline and feature spacing before texture.
- Check each eye separately; do not assume the face should be symmetrical.
- Inspect the mouth at normal viewing size as well as 100% zoom.
- Confirm that glasses, hairline, scars, moles, and age cues remain consistent.
- Look for repeated pores, painted hair, overly white teeth, plastic skin, sharp irises inside a soft face, and inconsistent lighting.
- Ask whether a new detail is supported by a visible shape in the source.
- Prefer the least aggressive version that solves the main damage.
- Ask someone who knows the person to compare structure and expression, not simply choose the “best-looking” image.
Restore first, colorize second
For a black-and-white or faded photograph, restore structure before adding color. The recommended sequence is:
- Preserve and, if possible, rescan the original.
- Correct orientation and make only necessary crops.
- Repair broad tonal fading, dust, scratches, and tears.
- Reduce disruptive noise without erasing natural film grain.
- Test a restrained face or blur correction.
- Compare identity features with the original.
- Save an approved monochrome restoration.
- Create colorized versions from that approved file.
This order separates two different kinds of uncertainty. A photo restoration tool can address damage and clarity first. Once the structure is accepted, a photo colorizer can estimate color without also asking you to judge a changing face.
Colorization is interpretation even when it looks convincing. A grayscale photograph does not uniquely determine the original color of a dress, wall, hair, or eye. Different colors can produce similar brightness values in black and white. Use family knowledge, uniforms, dated objects, written notes, or surviving color references where available. If the color is unknown, call the result a colorized interpretation rather than a recovered original.
If the approved restoration is still mildly soft, test an image unblur tool as a separate candidate. Compare it with both the untouched source and the pre-unblur restoration. A clearer result should not silently replace a more faithful one.
When you should stop processing
Stop when the next edit makes the photograph more impressive but less supported by the source. Warning signs include:
- family members say the expression or “look” of the person has changed;
- the eyes, teeth, or hair are far sharper than every nearby object;
- a scar, mole, wrinkle, or facial asymmetry disappears;
- repeated attempts produce different identities from the same input;
- skin becomes waxy and period-appropriate texture vanishes;
- the model invents clothing edges, jewelry, writing, or background objects;
- you can no longer tell which details came from the photograph;
- a high-stakes decision would depend on the restored version.
Do not continue merely because a stronger setting is available. Severe blur, a fully missing eye, a torn-away mouth, or an extremely small face may not have a single recoverable answer. In those cases, keep multiple labeled interpretations or leave the uncertain area less detailed.
Restoration should also stop short of rewriting age. Removing every line, smoothing skin, whitening teeth, or enlarging eyes is retouching, not damage repair. That may be appropriate for a creative portrait, but it should be saved and labeled separately from a faithful restoration.
How to choose the most faithful result
Do not rank candidates by sharpness alone. Use four questions:
- Does the result preserve stable geometry? Face shape and feature positions should remain consistent.
- Does it preserve distinctive evidence? Glasses, asymmetry, scars, hairline, and expression should not be normalized away.
- Is the level of detail coherent? Facial texture should not look like a modern high-resolution portrait pasted into an old, soft photograph.
- Can you explain the uncertainty? You should know which areas were repaired from evidence and which were reconstructed plausibly.
For family sharing, it can be valuable to keep three files: the untouched scan, a restrained restoration, and a clearly labeled colorized or creative version. This preserves provenance while still letting you enjoy the benefits of modern enhancement.
AI photo restoration is most successful when it helps you see the original photograph, not when it replaces the photograph with a prettier guess. Protect the source, make restrained changes, compare identity feature by feature, and stop before plausibility is mistaken for proof.