
How to Remove Glare from a Photo Without Ruining Detail
Learn how to remove glare from a photo while protecting eyes, skin, labels, texture, and the natural direction of light.
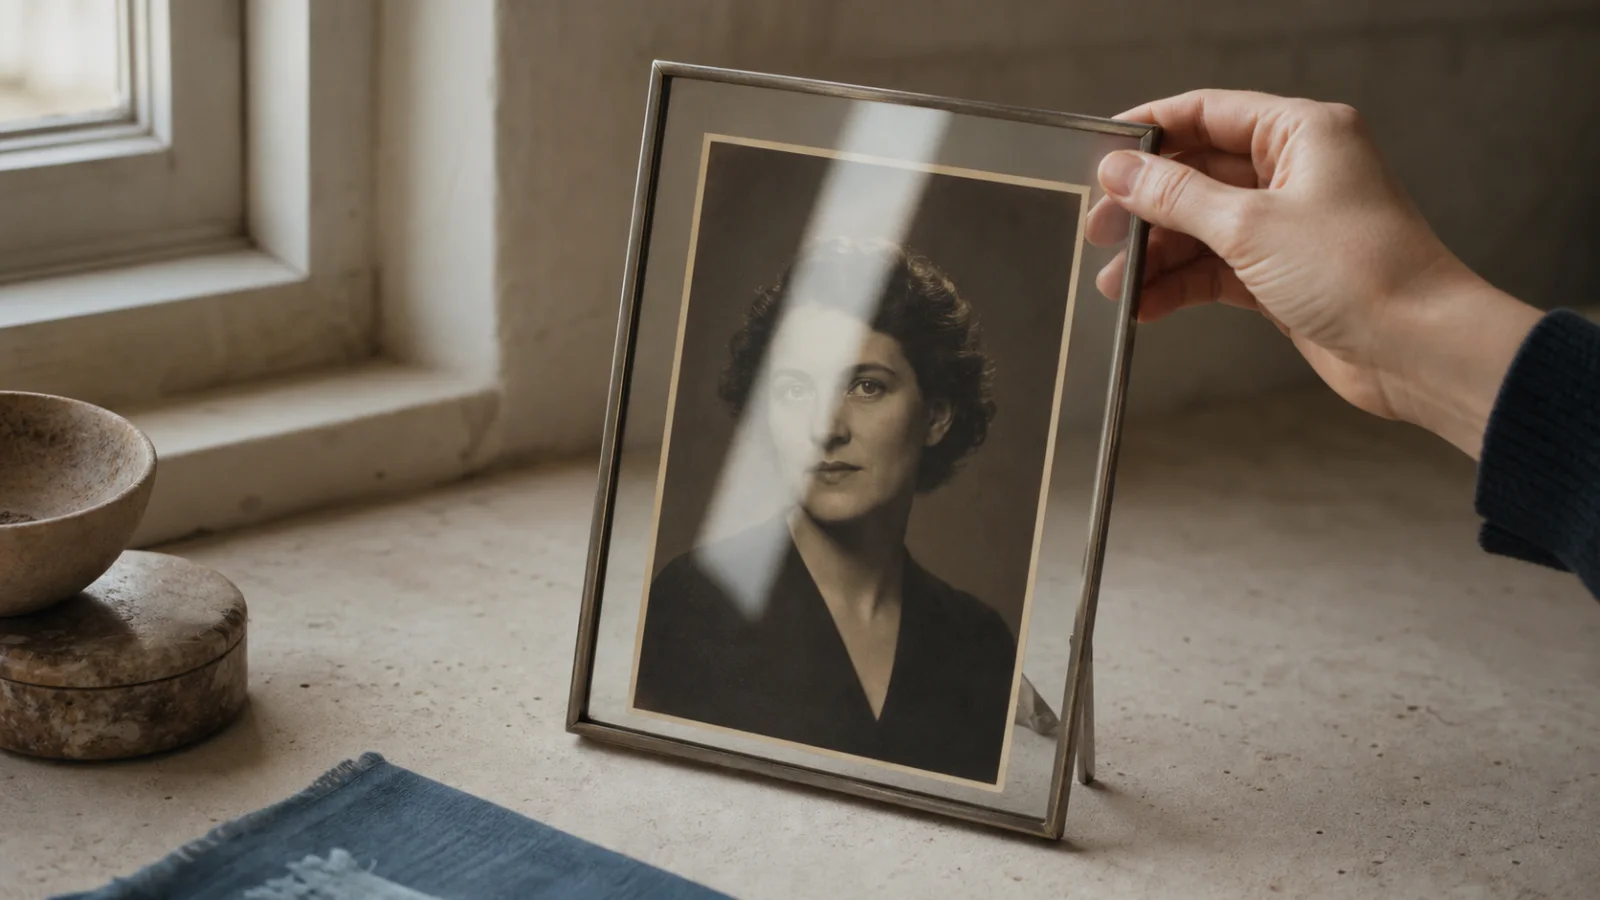
Glare can hide the exact part of a photo that matters: a person’s eyes, a product label, or a face in an old family print. The safest fix is to identify the reflection, check whether real detail still exists, and make the smallest local correction that solves the problem.
This guide explains how to remove glare from a photo without flattening natural highlights or replacing important detail with something merely plausible.
Identify the type of glare before editing
Different reflections need different treatment. Zoom out first and decide which description fits the image.
| Glare type | What it usually looks like | Best first move |
|---|---|---|
| Glasses glare | A white block, window shape, or ring-light arc across one or both lenses | Check whether the iris and eyelid remain visible beneath the reflection |
| Sun glare or lens flare | Haze, colored circles, streaks, or washed-out contrast across part of the scene | Decide whether the flare contributes to the mood before removing it |
| Flash hotspot | A hard white patch on skin, glass, ceramic, metal, or glossy packaging | Reduce highlights locally and protect the object’s shape and material |
| Scanned-print reflection | A broad bright streak or uneven shine caused by glass, a glossy print, or the capture light | Recapture the print when possible; edit only after saving the best clean scan |
Do not treat every bright spot as damage. Catchlights and reflections that describe glass or polished metal help an image feel three-dimensional. Removing all of them can look artificial.
First check whether the highlight is clipped
A highlight is clipped when it has reached pure white and no usable tone or texture remains in that part of the file. Lowering exposure can make clipped white pixels gray, but it cannot reveal detail that was never recorded.
Start with three checks:
- Lower the Highlights or Whites control temporarily. If texture, color, or an edge appears, the area is bright but recoverable.
- View the histogram and enable a highlight-clipping warning if your editor provides one. Adobe’s Lightroom guide explains how its histogram indicators mark clipped highlights.
- Compare every available source file. A raw file, original phone photo, or alternate exposure may contain more information than a screenshot or compressed copy.
If glare is partly transparent, a local highlight adjustment may be enough. If it is fully clipped, an editor or AI tool can only infer a repair from nearby pixels or repeated texture. That is reconstruction—not recovery of hidden evidence.
This distinction matters most for eyes, text, signatures, medical images, historical records, and product labels. Never rely on an inferred edit as proof of what the covered area originally contained.
Retake the photo or edit it?
Retaking is usually better when you control the scene and glare covers critical detail. Move the light, camera, subject, or object until the reflection falls somewhere harmless.
Choose a retake when:
- the glare completely covers both eyes or essential text;
- a product label, color, or surface must be represented accurately;
- a glossy object can be photographed again with softer or repositioned light;
- a framed print can be recaptured safely from another angle;
Editing is reasonable when:
- the expression or moment cannot be repeated;
- the reflection is mild and underlying detail is still visible;
- glare affects a simple background or repeated texture;
- you need a clean draft for a profile, listing, or family copy.
For a valuable image, keep the original and make more than one candidate. A restrained version is often more believable than the most dramatic cleanup.
How to remove glare from a photo step by step
1. Preserve the source and define the destination
Duplicate the original, then decide where the finished image will appear. A social profile, product page, and large print expose different levels of detail.
Work from the highest-quality source. Repeatedly resaving the same JPEG can make gradients and repaired edges harder to judge.
2. Correct the overall tone before repairing pixels
Set global exposure and white balance first. If only the reflection is bright, leave the rest of the image alone.
Use a local mask for Highlights, Whites, or Exposure and reduce the glare gradually. Watch the surrounding skin, fabric, sky, or packaging. The corrected area should reconnect with nearby tones rather than become a flat gray patch.
If local tone controls reveal believable detail, stop there. Do not add reconstruction when the original information is already sufficient.
3. Isolate the reflection carefully
Create a mask that follows the actual glare, with a soft transition at its edge. Large, feathered masks work well for hazy sun flare; smaller, more precise masks suit eyeglass reflections and product hotspots.
Check the mask overlay. It should not spill over a frame, pupil, printed letter, or product edge. Refine it at 100% view, then judge the result at normal size.
4. Use the least invasive repair that works
Try corrections in this order:
- local Highlights, Whites, Exposure, or Dehaze adjustment;
- a healing tool for a small spot surrounded by similar texture;
- cloning from a clearly matching nearby area;
- AI-assisted reconstruction for a complex or clipped reflection.
An automated image glare remover can speed up masking and the first repair. Treat its result as a candidate. Reject any version that invents lettering, changes an eye, bends a frame, or smears texture.
5. Rebuild color and texture separately
A repaired patch can match brightness but still feel wrong. Compare its color temperature, saturation, grain, sharpness, and texture with the area around it.
For skin, preserve pores and natural transitions. For products, keep straight edges, label spacing, and material-specific shine. For a sky, avoid repeating clouds. Matching grain often blends a repair better than aggressive sharpening.
6. Check structure at two viewing sizes
At 100% view, look for repeated patterns, doubled edges, broken frames, warped pupils, and inconsistent noise. Then zoom out. A detailed patch can still draw attention if its lighting no longer fits.
Toggle the edit on and off. The subject should remain the same person or object, with the distracting reflection reduced—not with every natural highlight erased.
7. Export a separate delivery copy
Keep the untouched source and a full-quality edited master. Export a separate delivery copy, open it where it will be used, and check it once more.
Removing glare from glasses
Glasses are difficult because reflections cross eyes, skin, and a rigid frame. Correct each lens separately.
Begin by lowering highlights within the lens. If an eye remains visible, protect it with a refined mask and restore only the surrounding tone. If one lens is clear and the pose is nearly symmetrical, it can provide a visual reference—but copying or mirroring an eye can subtly change gaze and identity, so use that approach cautiously.
Keep some natural lens reflection. Completely matte lenses often look less believable than a restrained highlight. If both eyes are fully clipped, a retake is the honest choice for identity-sensitive or professional uses.
Reducing sun glare and lens flare
Sun glare may appear as low-contrast haze rather than a white spot. First ask whether it supports the warmth, depth, or atmosphere of the photo. You may only need to reduce it.
Use a broad local mask to add modest contrast, reduce highlights, and correct color cast. Heal small flare circles only when the background provides a clear texture reference. Repeated or bent lines expose the edit quickly.
If the bright area contains no sky color or subject detail, do not promise full recovery. A balanced crop or partial reduction can look more natural than a fabricated replacement.
Fixing flash hotspots on skin and products
A flash hotspot often has a bright center and a softer transition around it. Reduce the outer halo first, then assess the center. Repairing the center alone can leave a visible ring.
On skin, match nearby tone without copying a large patch of pores. On glossy products, preserve enough reflection to communicate the material. If a hotspot hides fine label text, use another exposure or reshoot rather than generating letters.
Removing reflections from scanned old prints
If glare came from photographing a print under glass or under uneven light, a better capture is usually the cleanest fix. Place the camera parallel to the print, use even light from both sides, and change the light or camera angle until reflections leave the image area. Do not use direct on-camera flash.
Handle fragile originals conservatively. The U.S. National Archives advises overhead capture for extensively damaged or heavily curled photographs in its photograph care guidance.
Save an untouched master capture before editing. Remove capture glare first; then use photo restoration for separate problems such as fading, scratches, stains, or tears. Keeping those stages separate makes it easier to identify which process changed a face or historical detail.
What if the photo is also blurry?
Glare and blur are different problems. Bright reflections hide tone; blur spreads edges. Fix the glare first so a sharpening or deblurring step does not strengthen the reflection’s boundary. If the remaining image has motion blur or missed focus, test an unblur image workflow on a duplicate.
Do not repeatedly process the same export. Compare each stage with the original, and stop when the image works at its intended size.
Final quality checklist
Before downloading, confirm that:
- important eyes, text, labels, and edges still match the source;
- repaired areas contain no repeated texture or smeared detail;
- skin and reflective materials retain natural highlights;
- grain, sharpness, color, and contrast are consistent across the edit;
- the result looks believable both at 100% and at normal viewing size;
- any reconstructed detail is treated as an interpretation, not recovered fact;
- the untouched original and edited master remain stored separately.
The goal is not a photo with no highlights. It is a photo in which glare no longer blocks the subject, while the remaining light, texture, and identity still feel true to the original.