
How to Upscale a Small Image
Learn how to upscale a small image for print or screens, choose a practical target size, and check that enlarged details still look believable.
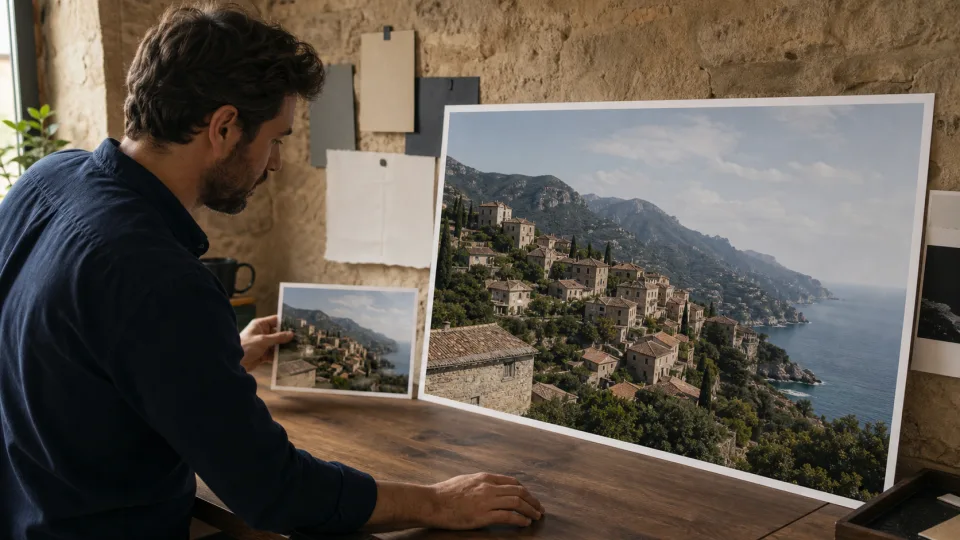
To upscale a small image, start with the best source you can find and choose a size that matches a real destination. Upscaling creates a larger version of an existing image; it does not prove missing details were present, so review the result where it will actually be used.
How to upscale a small image for a specific output
Set a destination size before you make the file larger
Decide whether the image is needed for a presentation slide, an online listing, a social post, or a print, then work backward from that requirement. A file that only needs to fill a small web card does not benefit from an extreme enlargement, while a print layout may need a specific pixel size. Writing down the destination dimensions keeps the process practical and gives you a clear test for whether the new version is useful.
The cleanest source matters more than the biggest multiplier
Look for the original camera file, scan, or least-compressed export before you upscale. A thumbnail, screenshot, or image copied from a chat app often contains compression artifacts that become more visible when enlarged. If the source is noisy or blurry, make a modest cleanup first and preserve the original beside it. Starting from the best available file does more for believable detail than choosing the largest possible scale setting.
Inspect details that reveal processing artifacts
After you upscale a small image, check high-contrast edges, diagonal lines, repeated patterns, hands, eyes, and real text. These areas quickly show whether the extra pixels are helping or creating warped shapes, repeated textures, or false detail. Compare the enlarged candidate with the source at the size people will use, not only at full zoom. If a questionable detail matters, describe it as uncertain instead of treating enlargement as confirmation.
Prepare separately for print and for screens
A large screen image and a printed photo are judged differently. For print, place the upscaled copy in the real layout and inspect a small proof if possible; paper, viewing distance, and printer settings affect the result. For a screen, test the image in the browser or app where it will appear. Keep the full-quality candidate as a master, then create the format, crop, and compression level each destination actually needs.
Before you start
- Find the highest-resolution original instead of starting from a screenshot, thumbnail, or previously compressed copy.
- Write down the target dimensions or physical print size before creating a larger version.
- If the source is blurry or noisy, plan to address that limitation before judging the upscaled copy.
Step-by-step workflow
- Step 1
Measure the source and the destination
Check the original pixel dimensions and the dimensions required by the next step in your workflow. A larger file is useful only when it matches a real display, layout, or print requirement. Avoid choosing an extreme size just because the option is available.
- Step 2
Start from the cleanest source file
If you have several copies, choose the one with the least compression and the strongest original detail. Remove obvious noise or reduce severe blur first when necessary. Upscaling a poor source can make its flaws easier to see as well as making the image larger.
- Step 3
Create one upscaled candidate
Generate a larger copy and preserve the original beside it. Do not chain multiple upscales unless a specific workflow requires it: each pass makes it harder to tell which changes came from the photo and which came from processing.
- Step 4
Review important areas at target size
Look at the subject, diagonal lines, small objects, and any real text at the final size. Check that edges remain plausible and that repeated patterns have not become odd or overly regular. If a detail is uncertain in the source, describe it as uncertain rather than treating the enlarged version as evidence.
Check your result
- The larger copy fits the intended canvas, layout, or print requirement.
- Key edges and shapes remain consistent with the original image.
- No new repeating textures, warped lines, or distracting artifacts appear in important areas.
- The original file remains available for future editing.
Common mistakes to avoid
- Upscaling a thumbnail when a better original is available.
- Assuming a larger image has recovered facts that were not visible in the source.
- Upscaling repeatedly and losing track of the best version.
Frequently asked questions
How far can I upscale a small image?
There is no reliable multiplier that works for every file. The useful limit depends on the source detail, the intended size, and how closely people will inspect it. Choose the smallest enlargement that meets the layout or print requirement, then check the subject and important edges at final size. If the larger version mainly makes blur or artifacts more obvious, a smaller placement or a different source may be the better choice.
Does upscaling create missing detail?
Upscaling can create a more usable larger image, but it does not establish that an ambiguous feature was present in the original. Generated pixels may make lines or textures look smoother and more plausible without being historical or factual evidence. This is especially important for text, faces, documents, and forensic material. Keep the original available, compare both files, and avoid making claims about a detail that cannot be confirmed from the source.
Is image enhancement the same as image upscaling?
No. Enhancement generally aims to improve clarity, contrast, noise, or balance at roughly the existing dimensions, while upscaling makes a larger version. They can complement each other, but they solve different problems. If the source looks dim or noisy, a light cleanup may help before enlargement. If the image already looks good but is too small for a layout, upscaling alone may be enough. Always compare the outcome with the original.
Should I upscale a screenshot or a thumbnail?
Only when a better source truly does not exist. Screenshots and thumbnails often have prior compression, resampling, interface elements, or missing detail, so the result can look less convincing than an enlargement made from the original. Search your camera roll, design files, email attachments, or shared drive first. If you must use a small derivative, set modest expectations and test the result at its final viewing size before committing it to print or publication.
What should I save after I upscale an image?
Keep the original source, the best upscaled master, and any destination-specific versions separately. Label the scale or intended use so you know which file belongs in a print layout, product page, or slide deck. Avoid feeding a previously upscaled delivery copy back into another enlargement unless a specialist workflow requires it. Preserving a clear file history makes it easier to compare results and return to the strongest source later.
Upscale an image
Use the image upscaler after you have chosen a realistic target size and saved the original safely.
Open the toolRelated tutorials
Continue with another practical workflow when your image needs more than one kind of repair or preparation.